Chainlink Price Feeds
Chainlink allows smart contracts to receive aggregated price feeds and access external data using a decentralized network of oracles. The Gnosis <->\ Chainlink integration was completed by Protofire with a Chainlink Community Grant.
Chainlink offers a tutorial on using secure data feeds with Gnosis. See it in action
Addresses
- LINK Token on Gnosis:
0xE2e73A1c69ecF83F464EFCE6A5be353a37cA09b2 - Price Feeds on Gnosis: Latest list is available in the Chainlink Documentation
Basic Tutorial: Price Feeds
See the Chainlink documentation for more advanced tutorials and information. The following shows how to use MetaMask/Remix with Gnosis to deploy a simple price feed contract, then call the function using Blockscout.
1) Install and configure MetaMask
See MetaMask setup page and follow the setup and configuration sections
2) Get xDai with Faucet
You can get enough xDai to deploy your contracts and more with the a Faucet. You should see it added to your address in a few seconds.
3) Open Remix and Create File
Go to https://remix.ethereum.org/
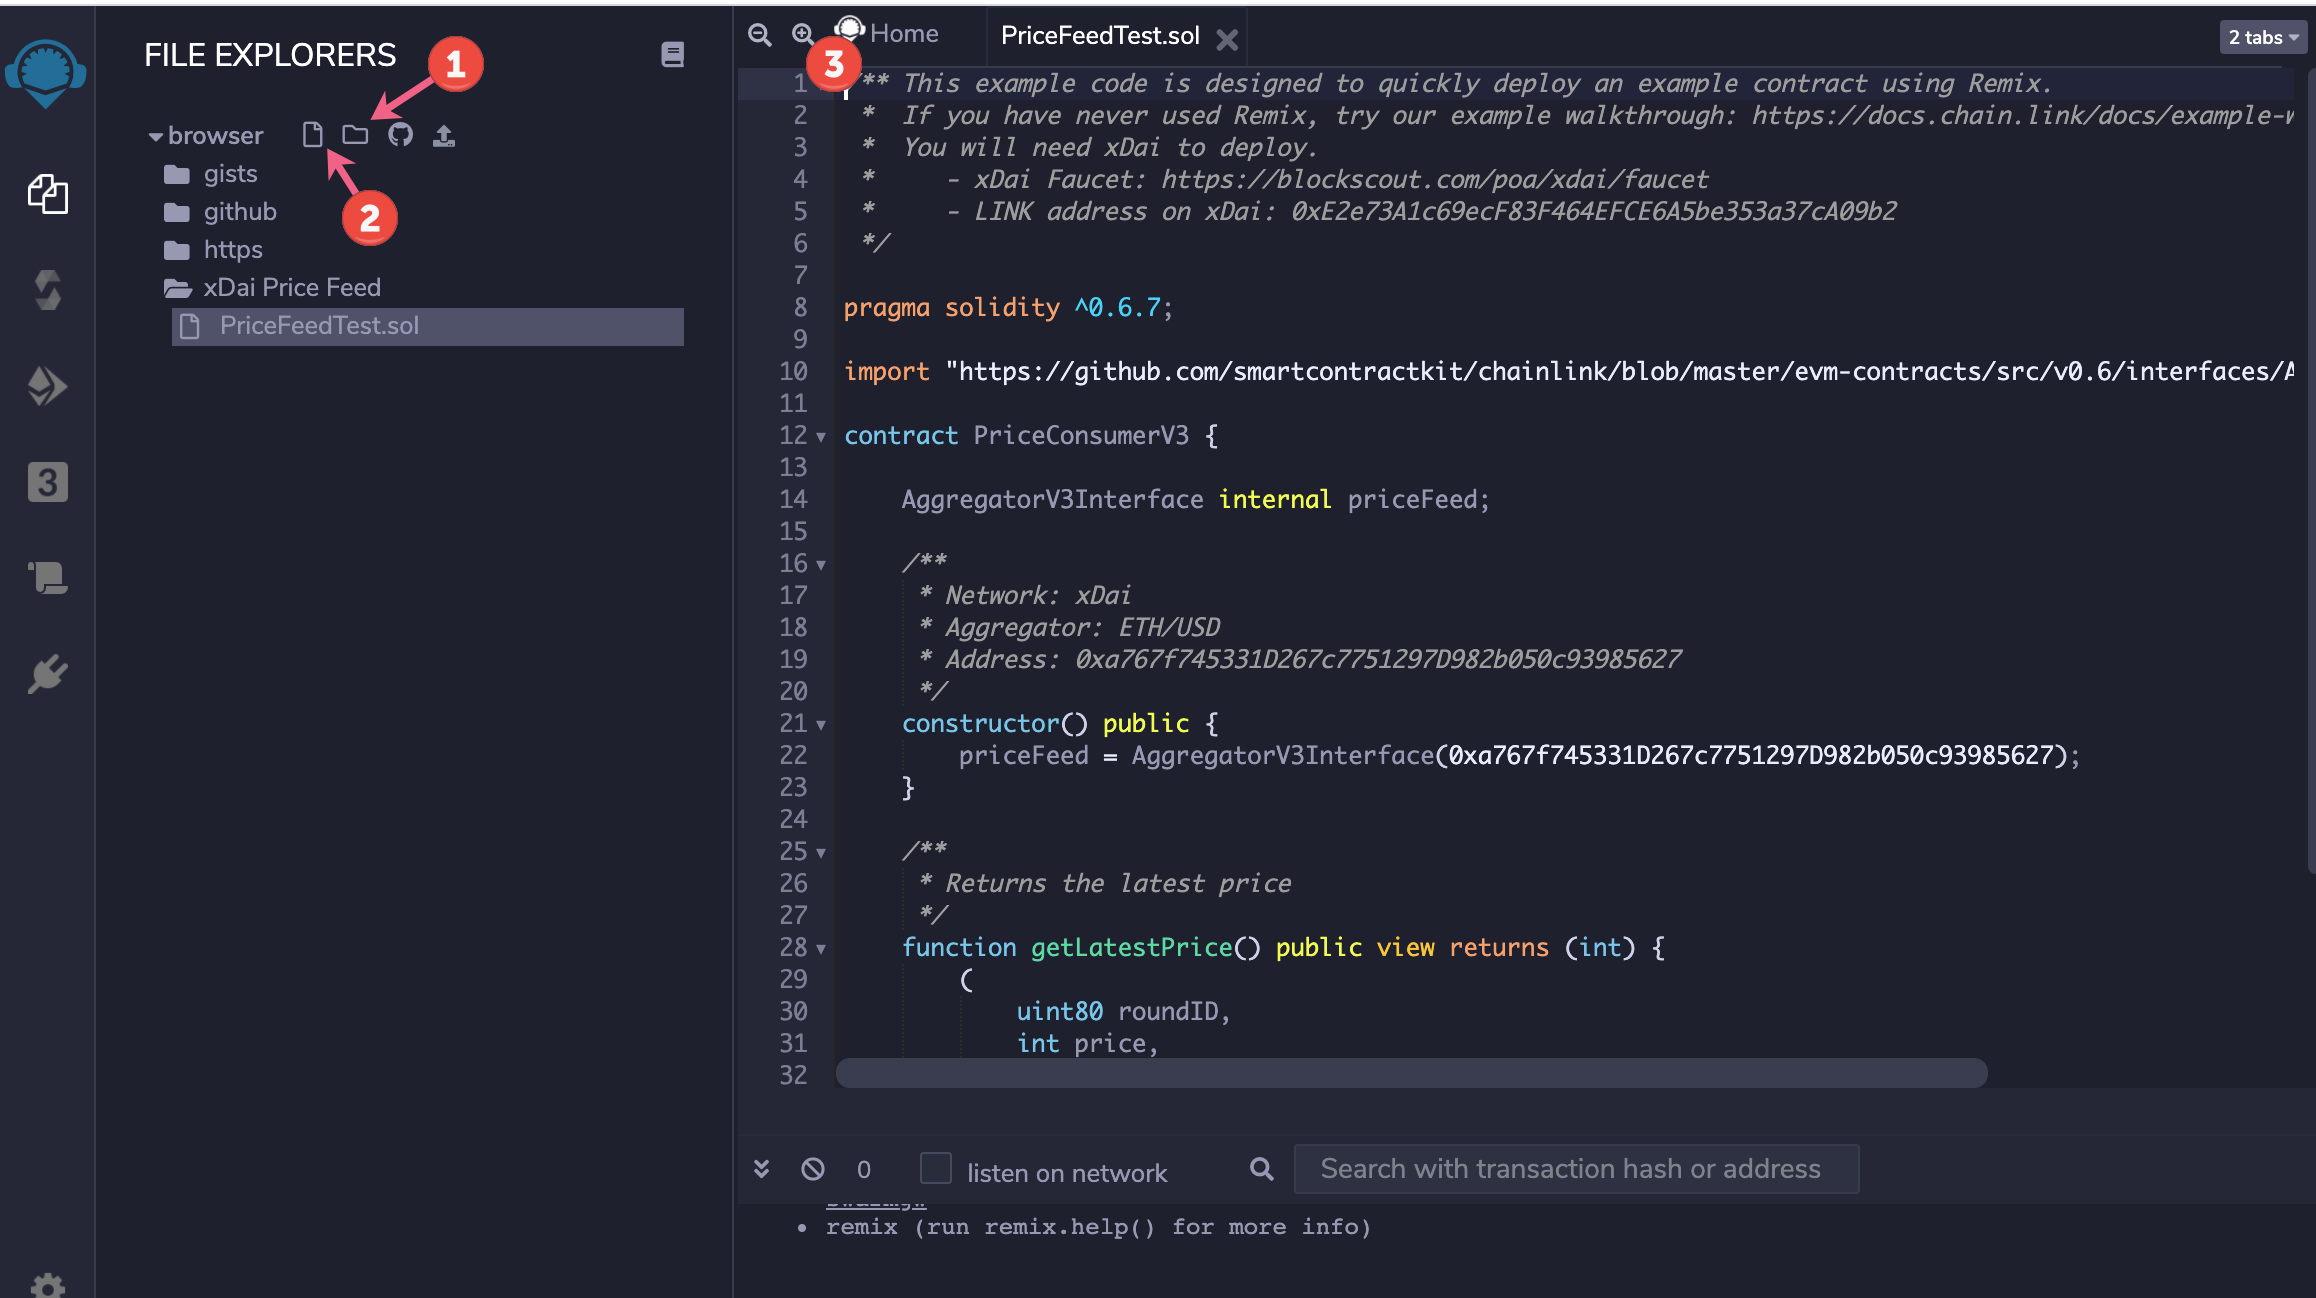
There are several ways to create a new file. Here we:
- Create a folder called Gnosis Price Feed.
- Create a file in the folder called
PriceFeedTest.sol. - Paste in the example code below the image.
Example Code
/** This example code is designed to quickly deploy an example contract using Remix.
 *  If you have never used Remix, try our example walkthrough: https://docs.chain.link/docs/example-walkthrough
 *  You will need xDai to deploy on Gnosis.
 *     - xDai Faucet: https://docs.gnosischain.com/tools/faucets
 *     - LINK address on xDai: 0xE2e73A1c69ecF83F464EFCE6A5be353a37cA09b2
 */

pragma solidity ^0.6.7;

import "https://github.com/smartcontractkit/chainlink/blob/master/evm-contracts/src/v0.6/interfaces/AggregatorV3Interface.sol";

contract PriceConsumerV3 {

    AggregatorV3Interface internal priceFeed;

    /**
     * Network: Gnosis
     * Aggregator: ETH/USD
     * Address: 0xa767f745331D267c7751297D982b050c93985627
     */
    constructor() public {
        priceFeed = AggregatorV3Interface(0xa767f745331D267c7751297D982b050c93985627);
    }

    /**
     * Returns the latest price
     */
    function getLatestPrice() public view returns (int) {
        (
            uint80 roundID,
            int price,
            uint startedAt,
            uint timeStamp,
            uint80 answeredInRound
        ) = priceFeed.latestRoundData();
        return price;
    }
}
The code below uses the Chainlink standard Price Consumer contract along with several modifications:
- We initialize the ETH/USD Gnosis Price Feed in the constructor
priceFeed = AggregatorV3Interface(0xa767f745331D267c7751297D982b050c93985627);
We use the getLatestPrice function to return the current price. It pulls this from the latestRoundData function in the imported AggregatorV3Interface.sol Contract
4) Compile Contract in Remix
Click on the Compiler Icon, adjust items (if necessary, we keep defaults here) and click the Compile button.

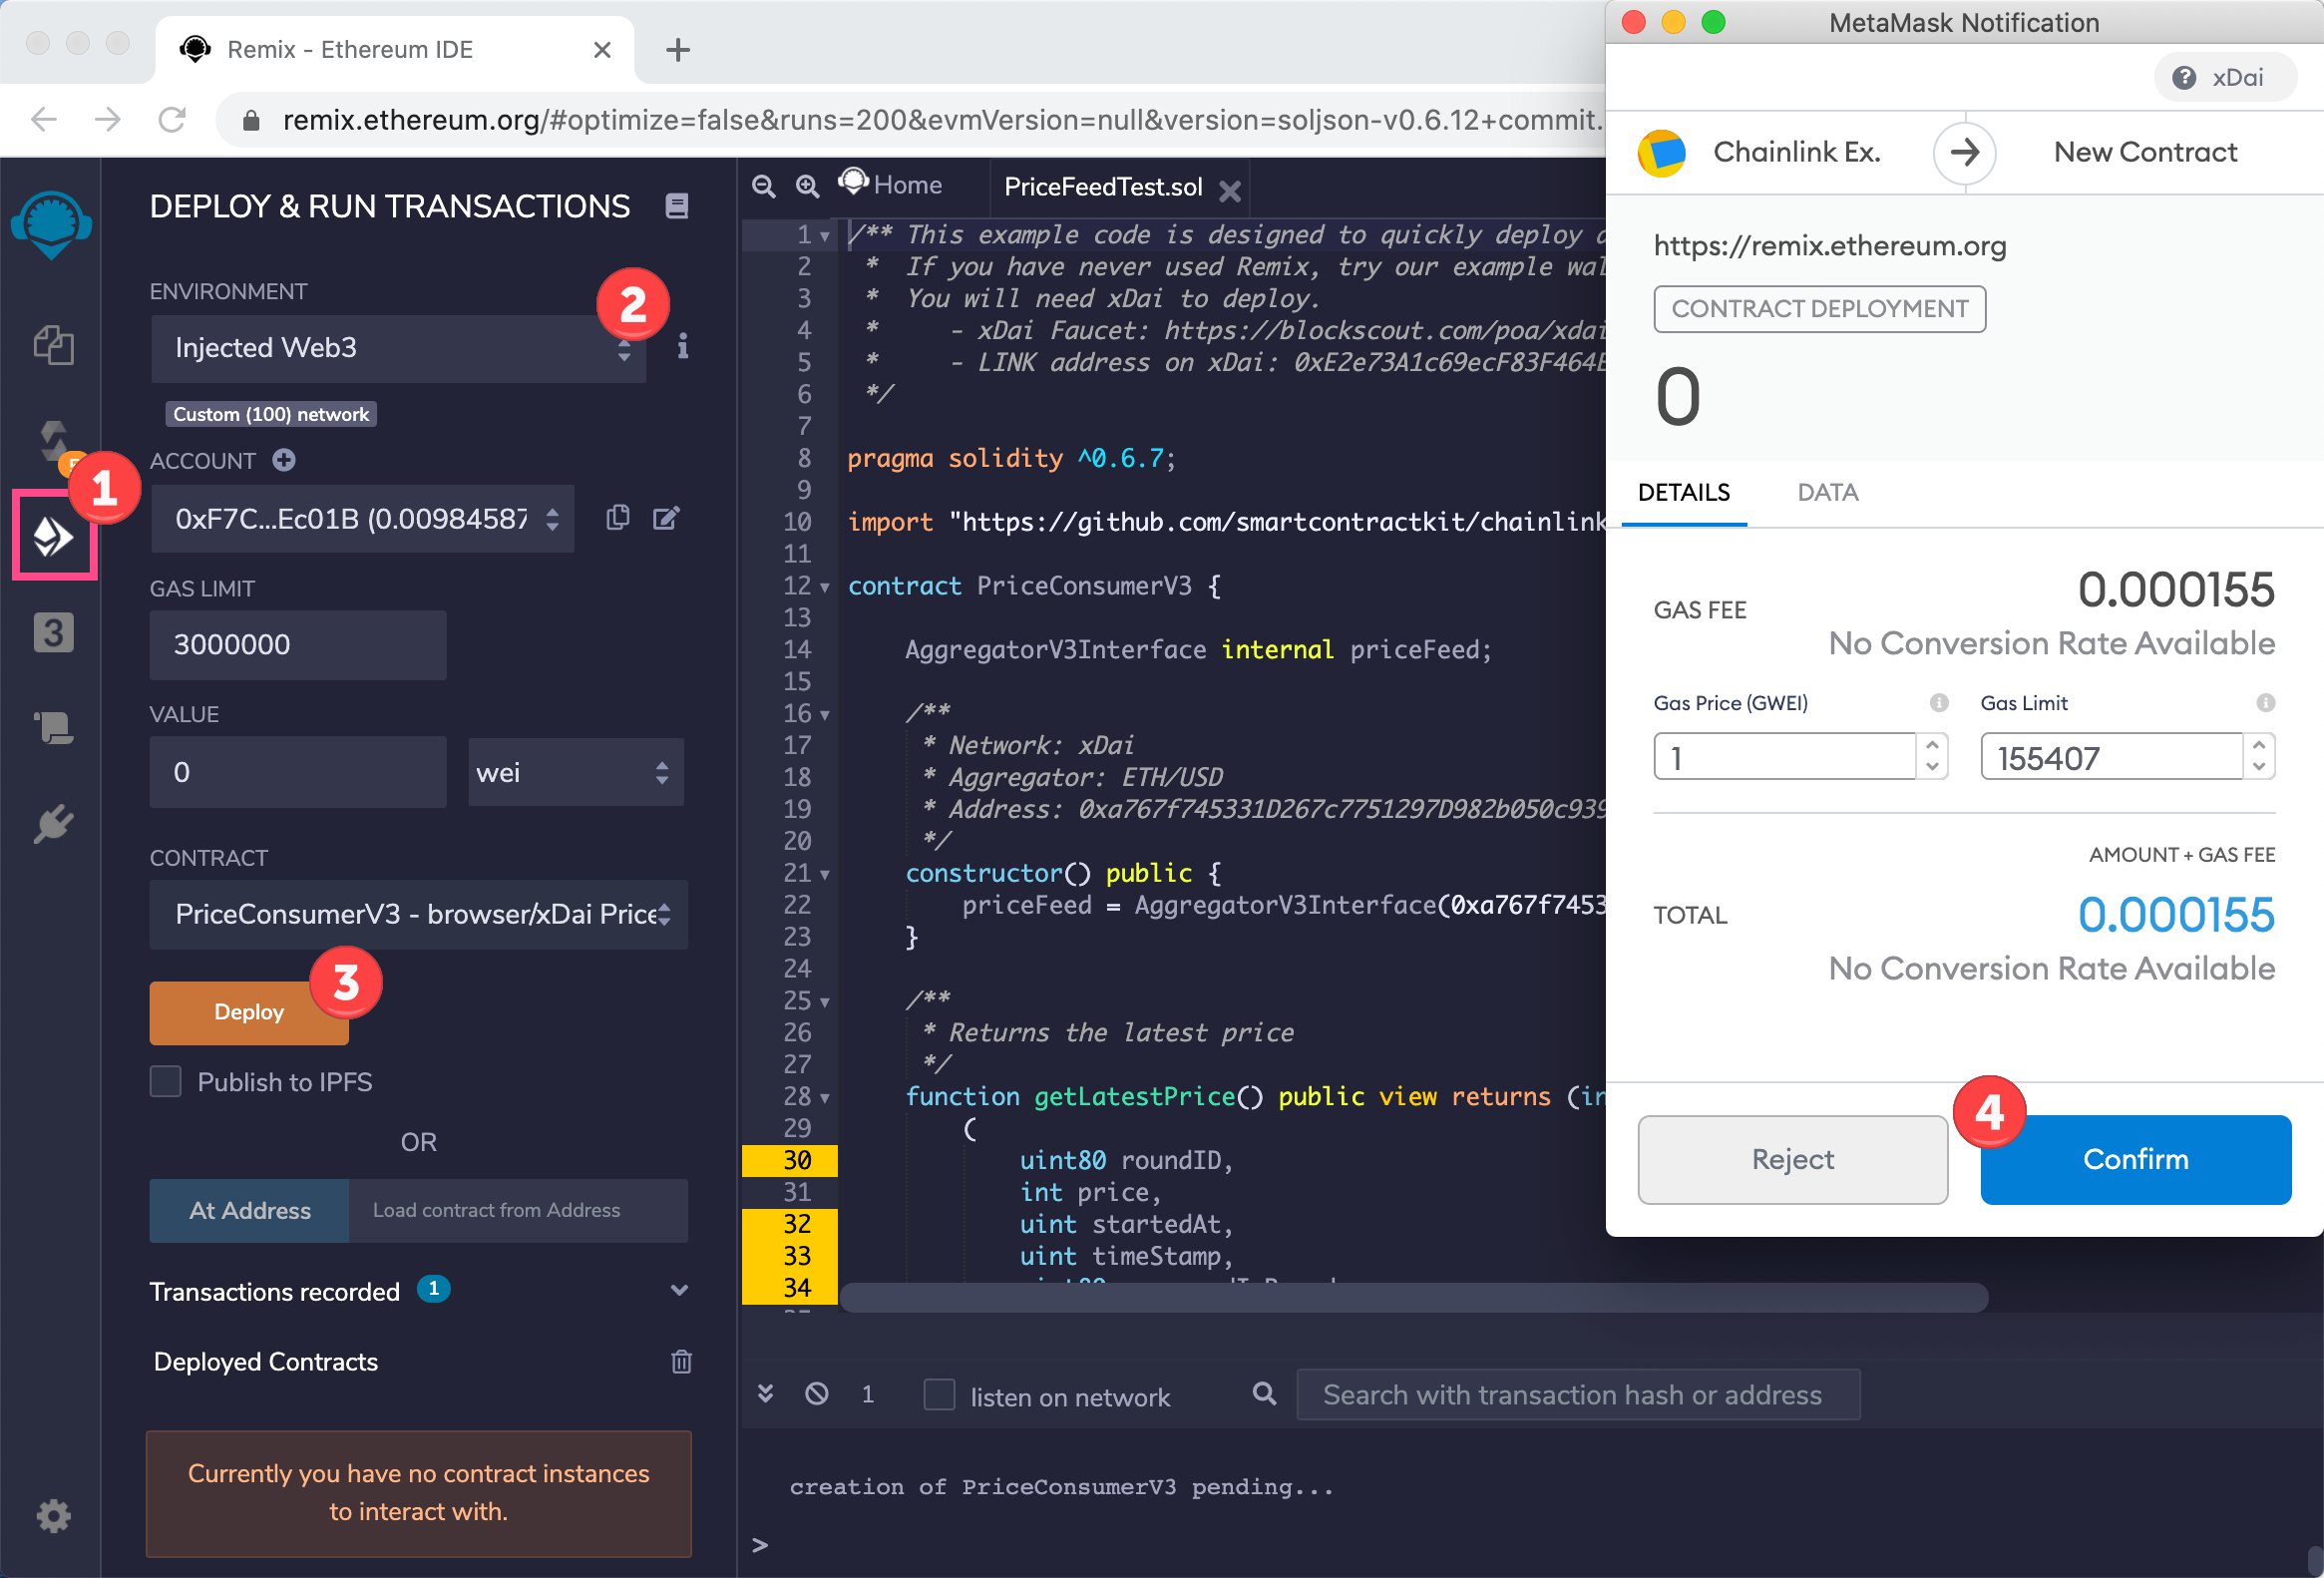
5) Deploy Contract
- Select Deploy Icon.
- Change Environment to Web3.
- Click Deploy.
- Confirm the transaction in MetaMask. You account must be connected to Gnosis and have a small amount of xDai (see steps 1 and 2).
6) Check Contract
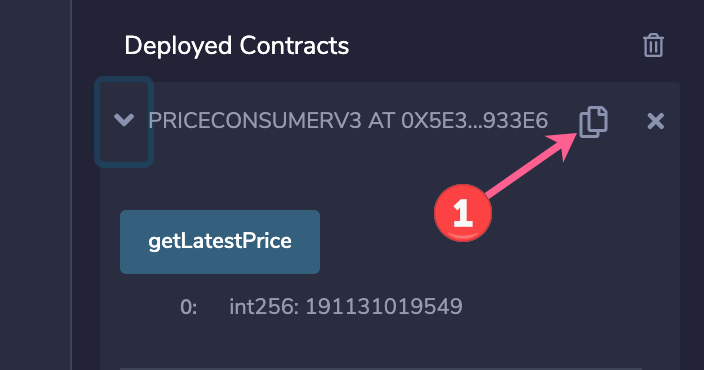
Once deployed, click to expand the contract. Click getLatestPrice to check the ETH/USD price.

Verify Contract in BlockScout Block Explorer
1) Find Deployed Contract
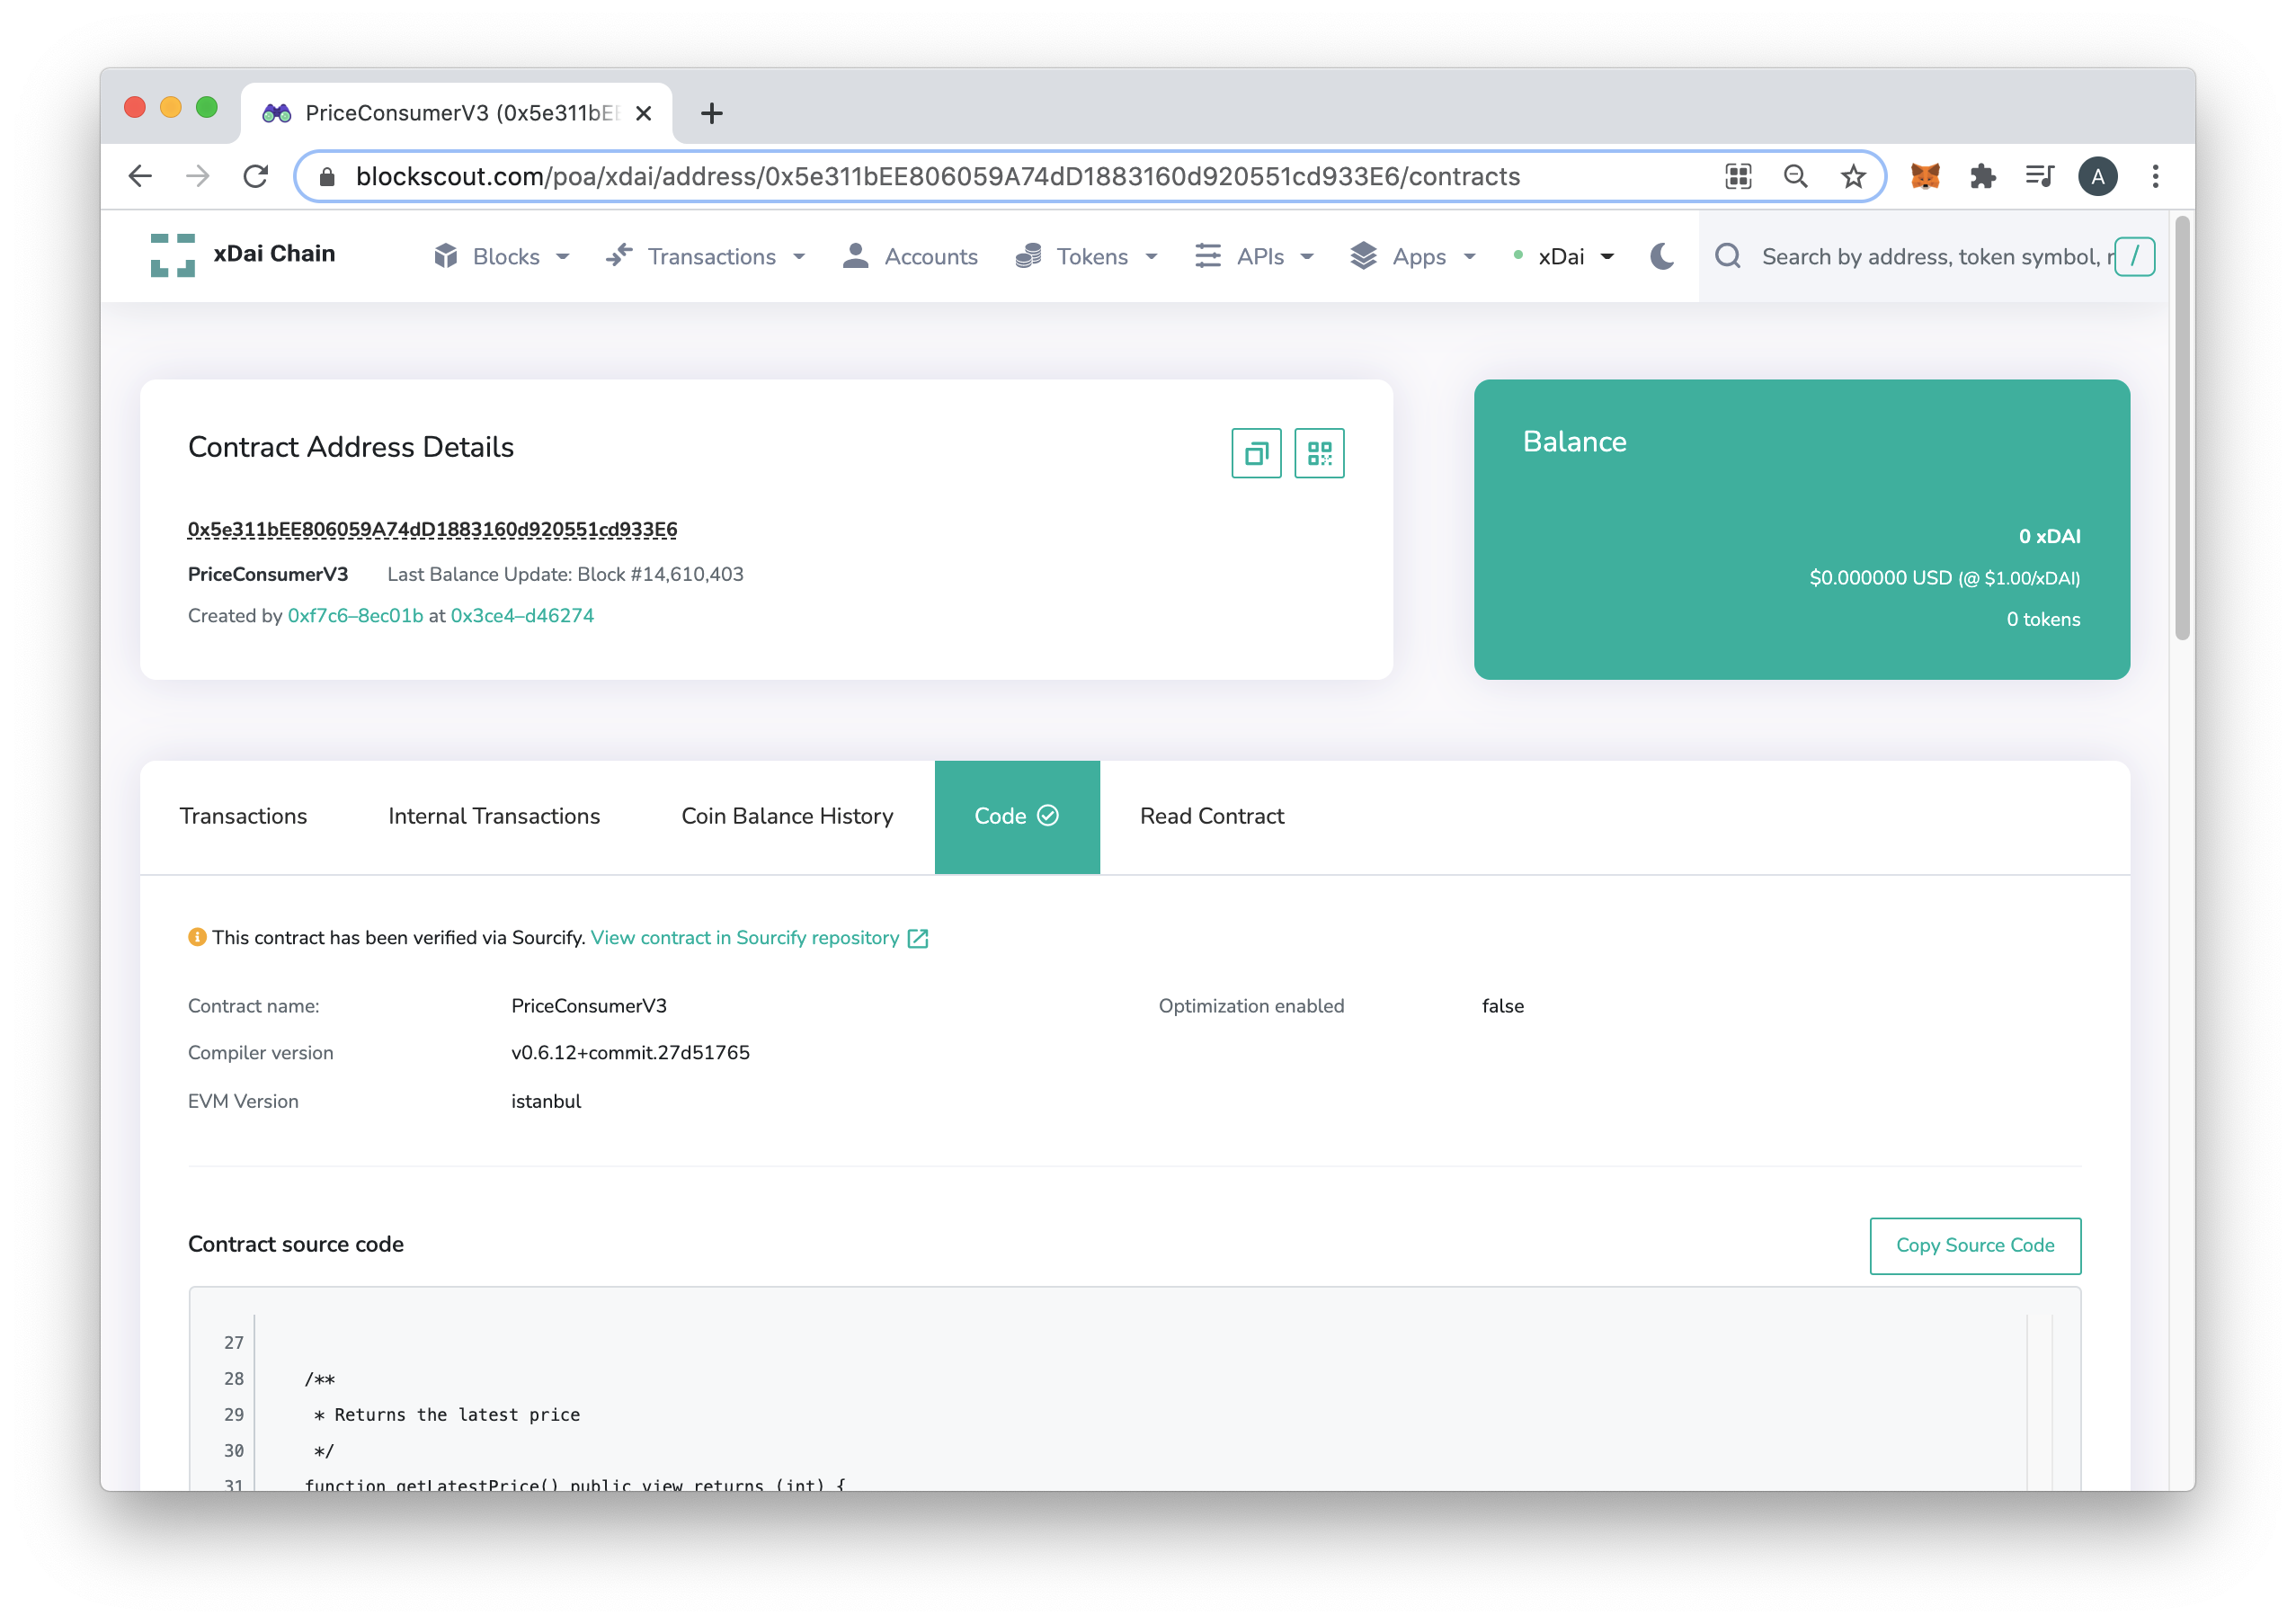
For transparency and interaction purposes, you can verify your contract on BlockScout. Note, if a contract with the same bytecode has already been deployed and verified, your contract code may be viewable. See this example.
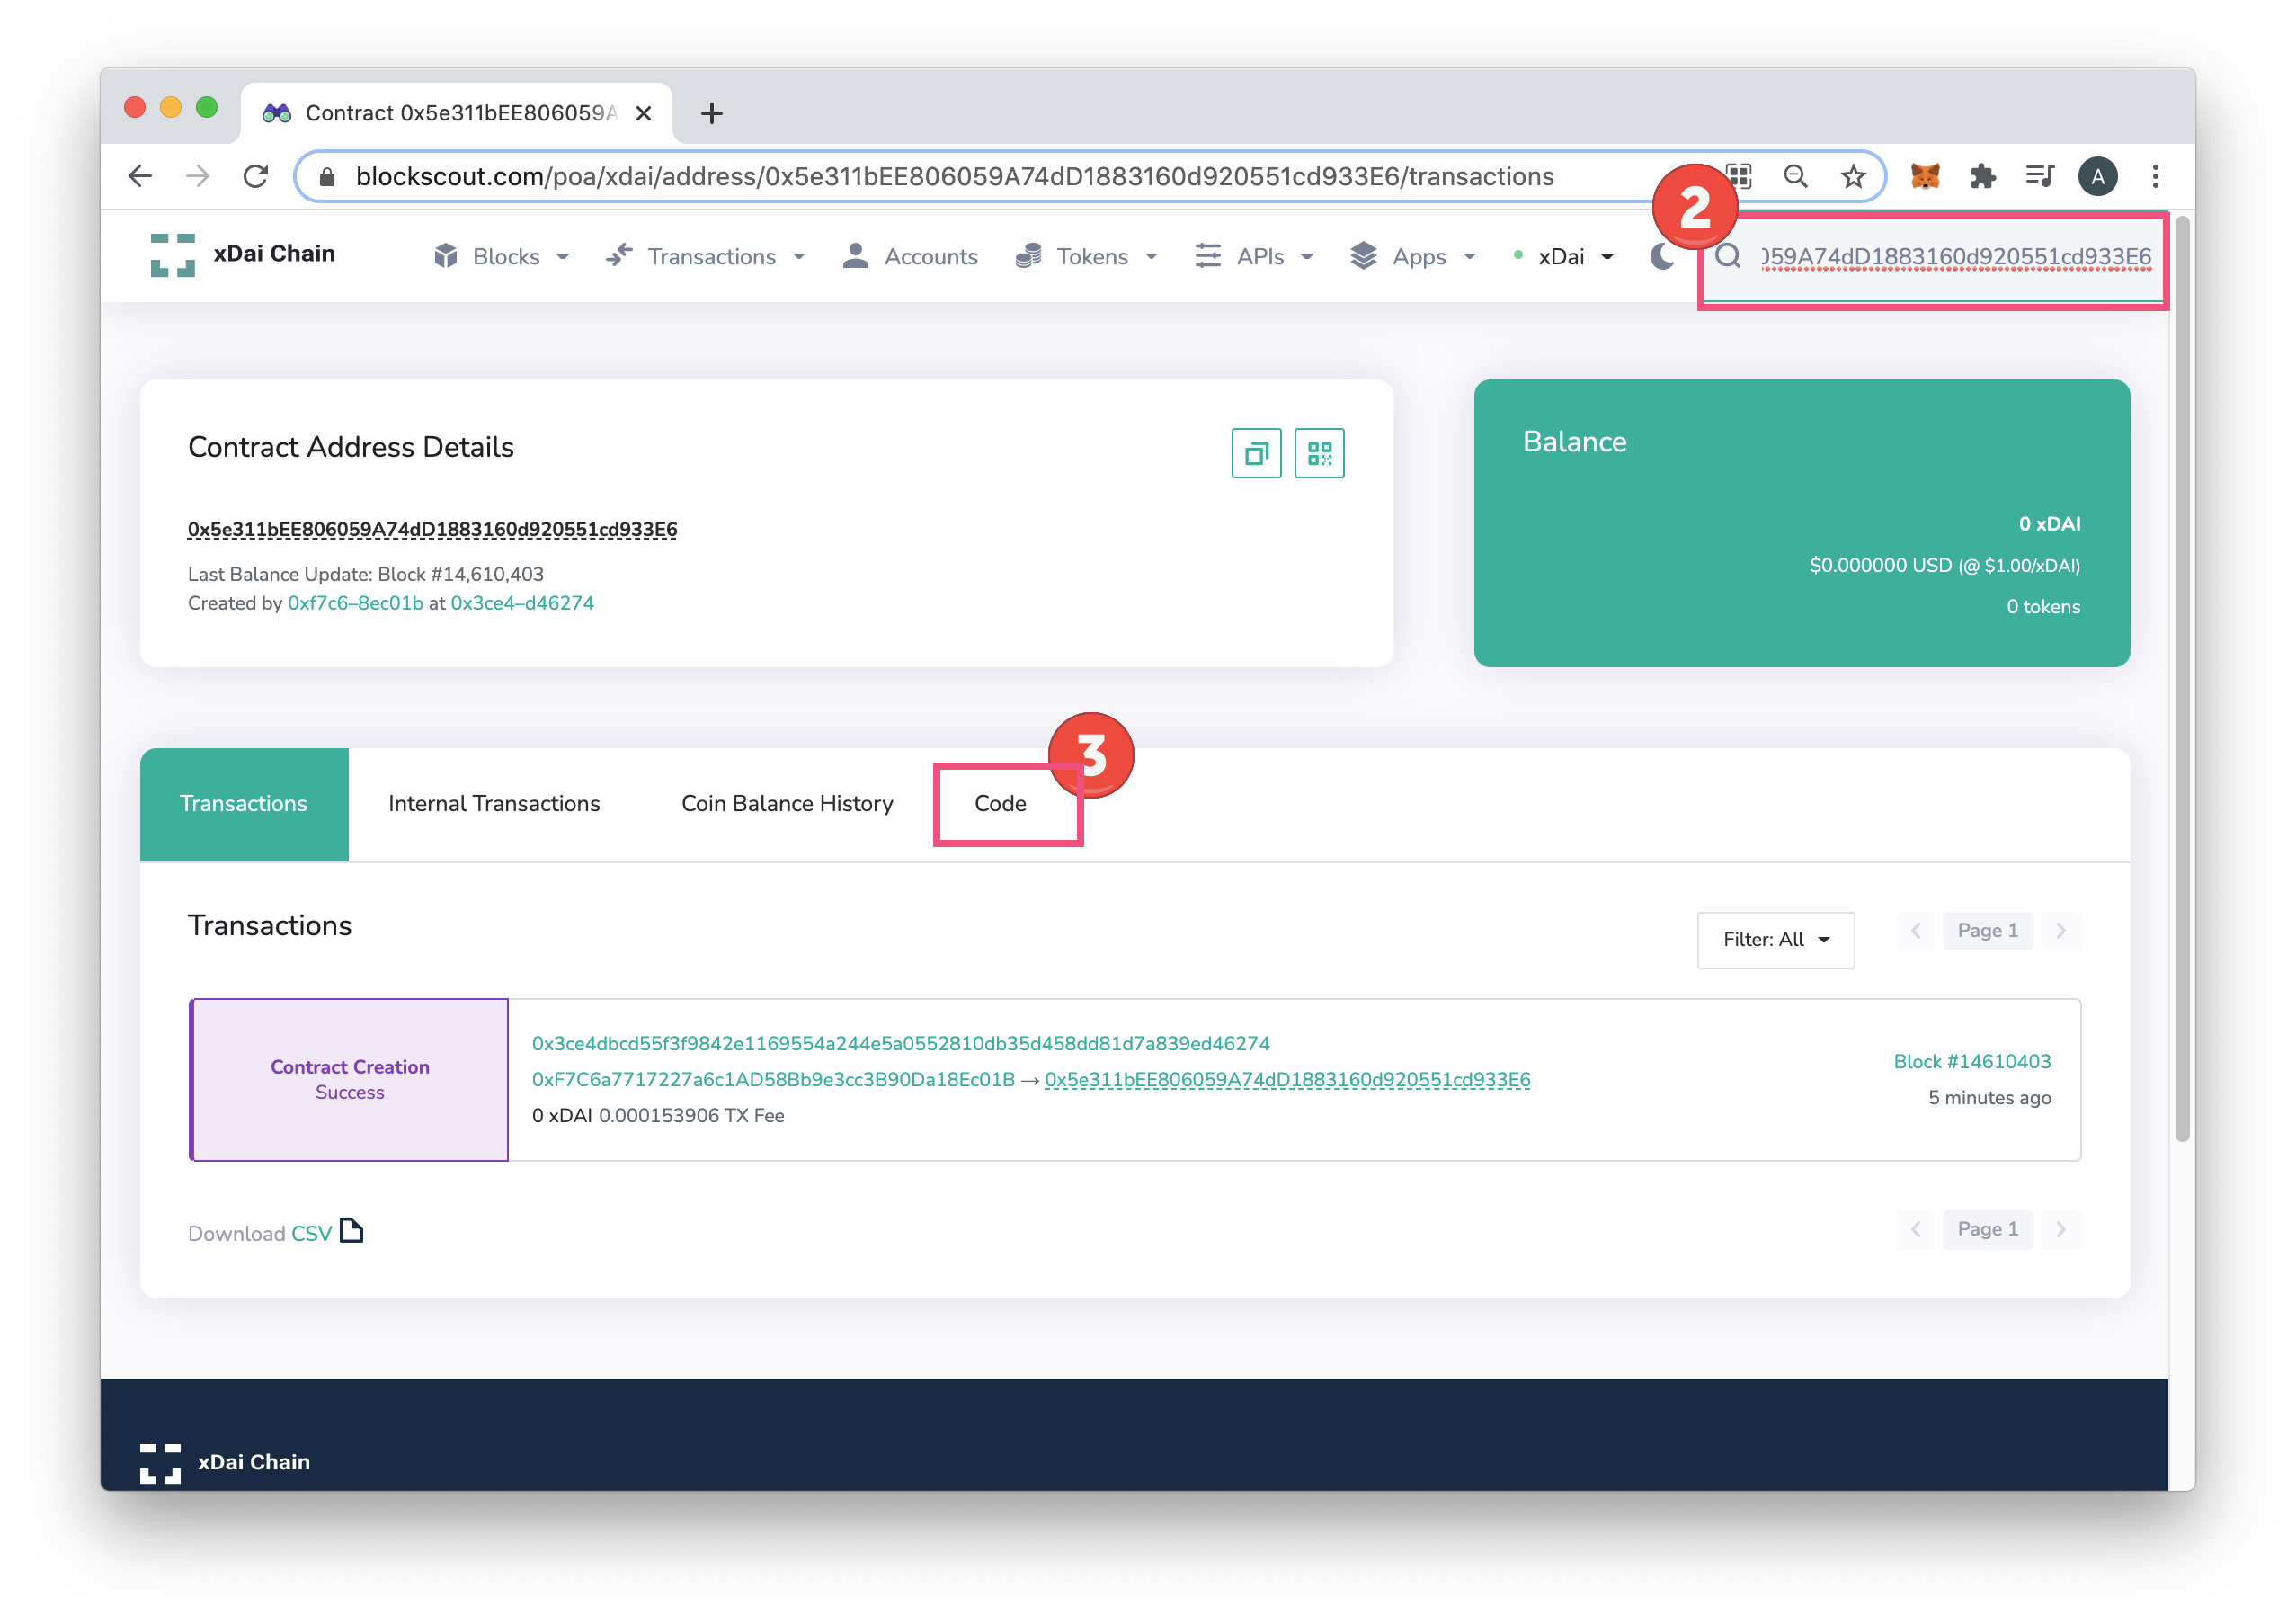
- Copy the deployed contract address in Remix.
- Go to BlockScout and paste into the search field.
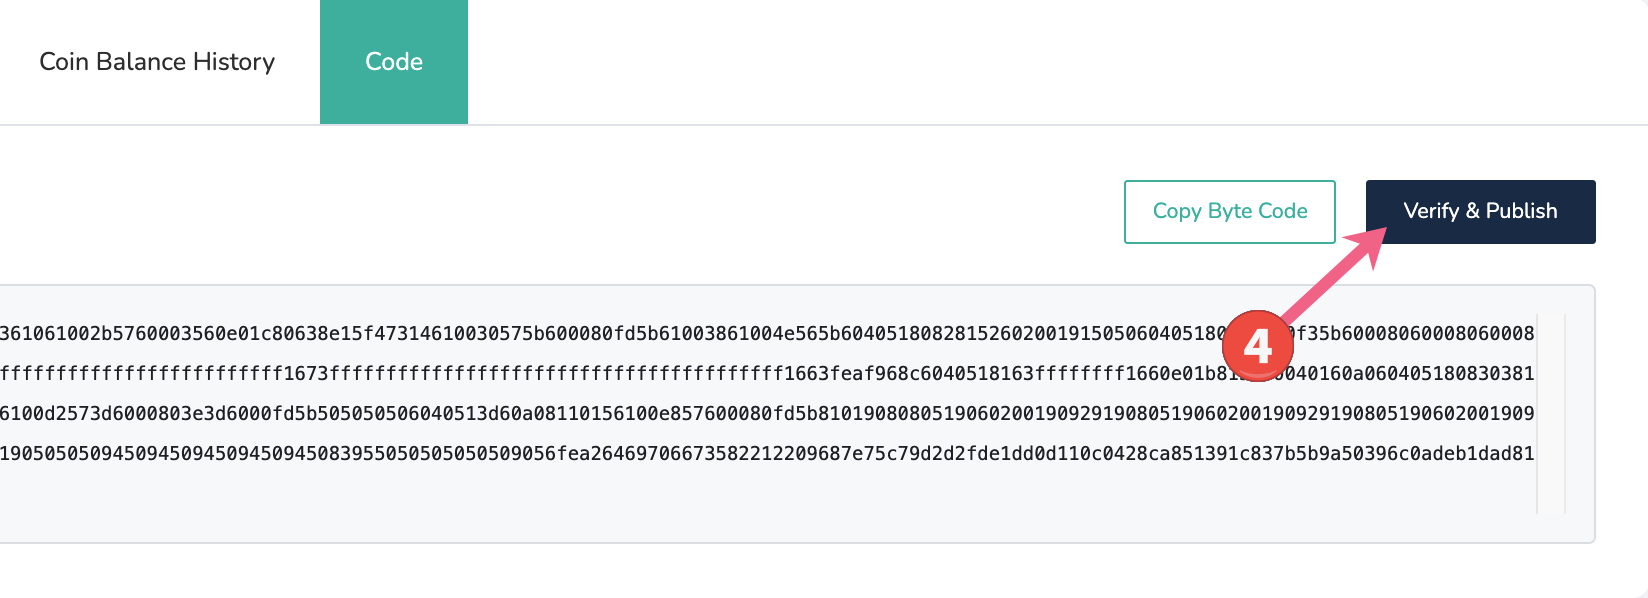
- Click the Code tab for verification methods.
- Click the Verify and Publish Button.
2) Add Sources to Verify
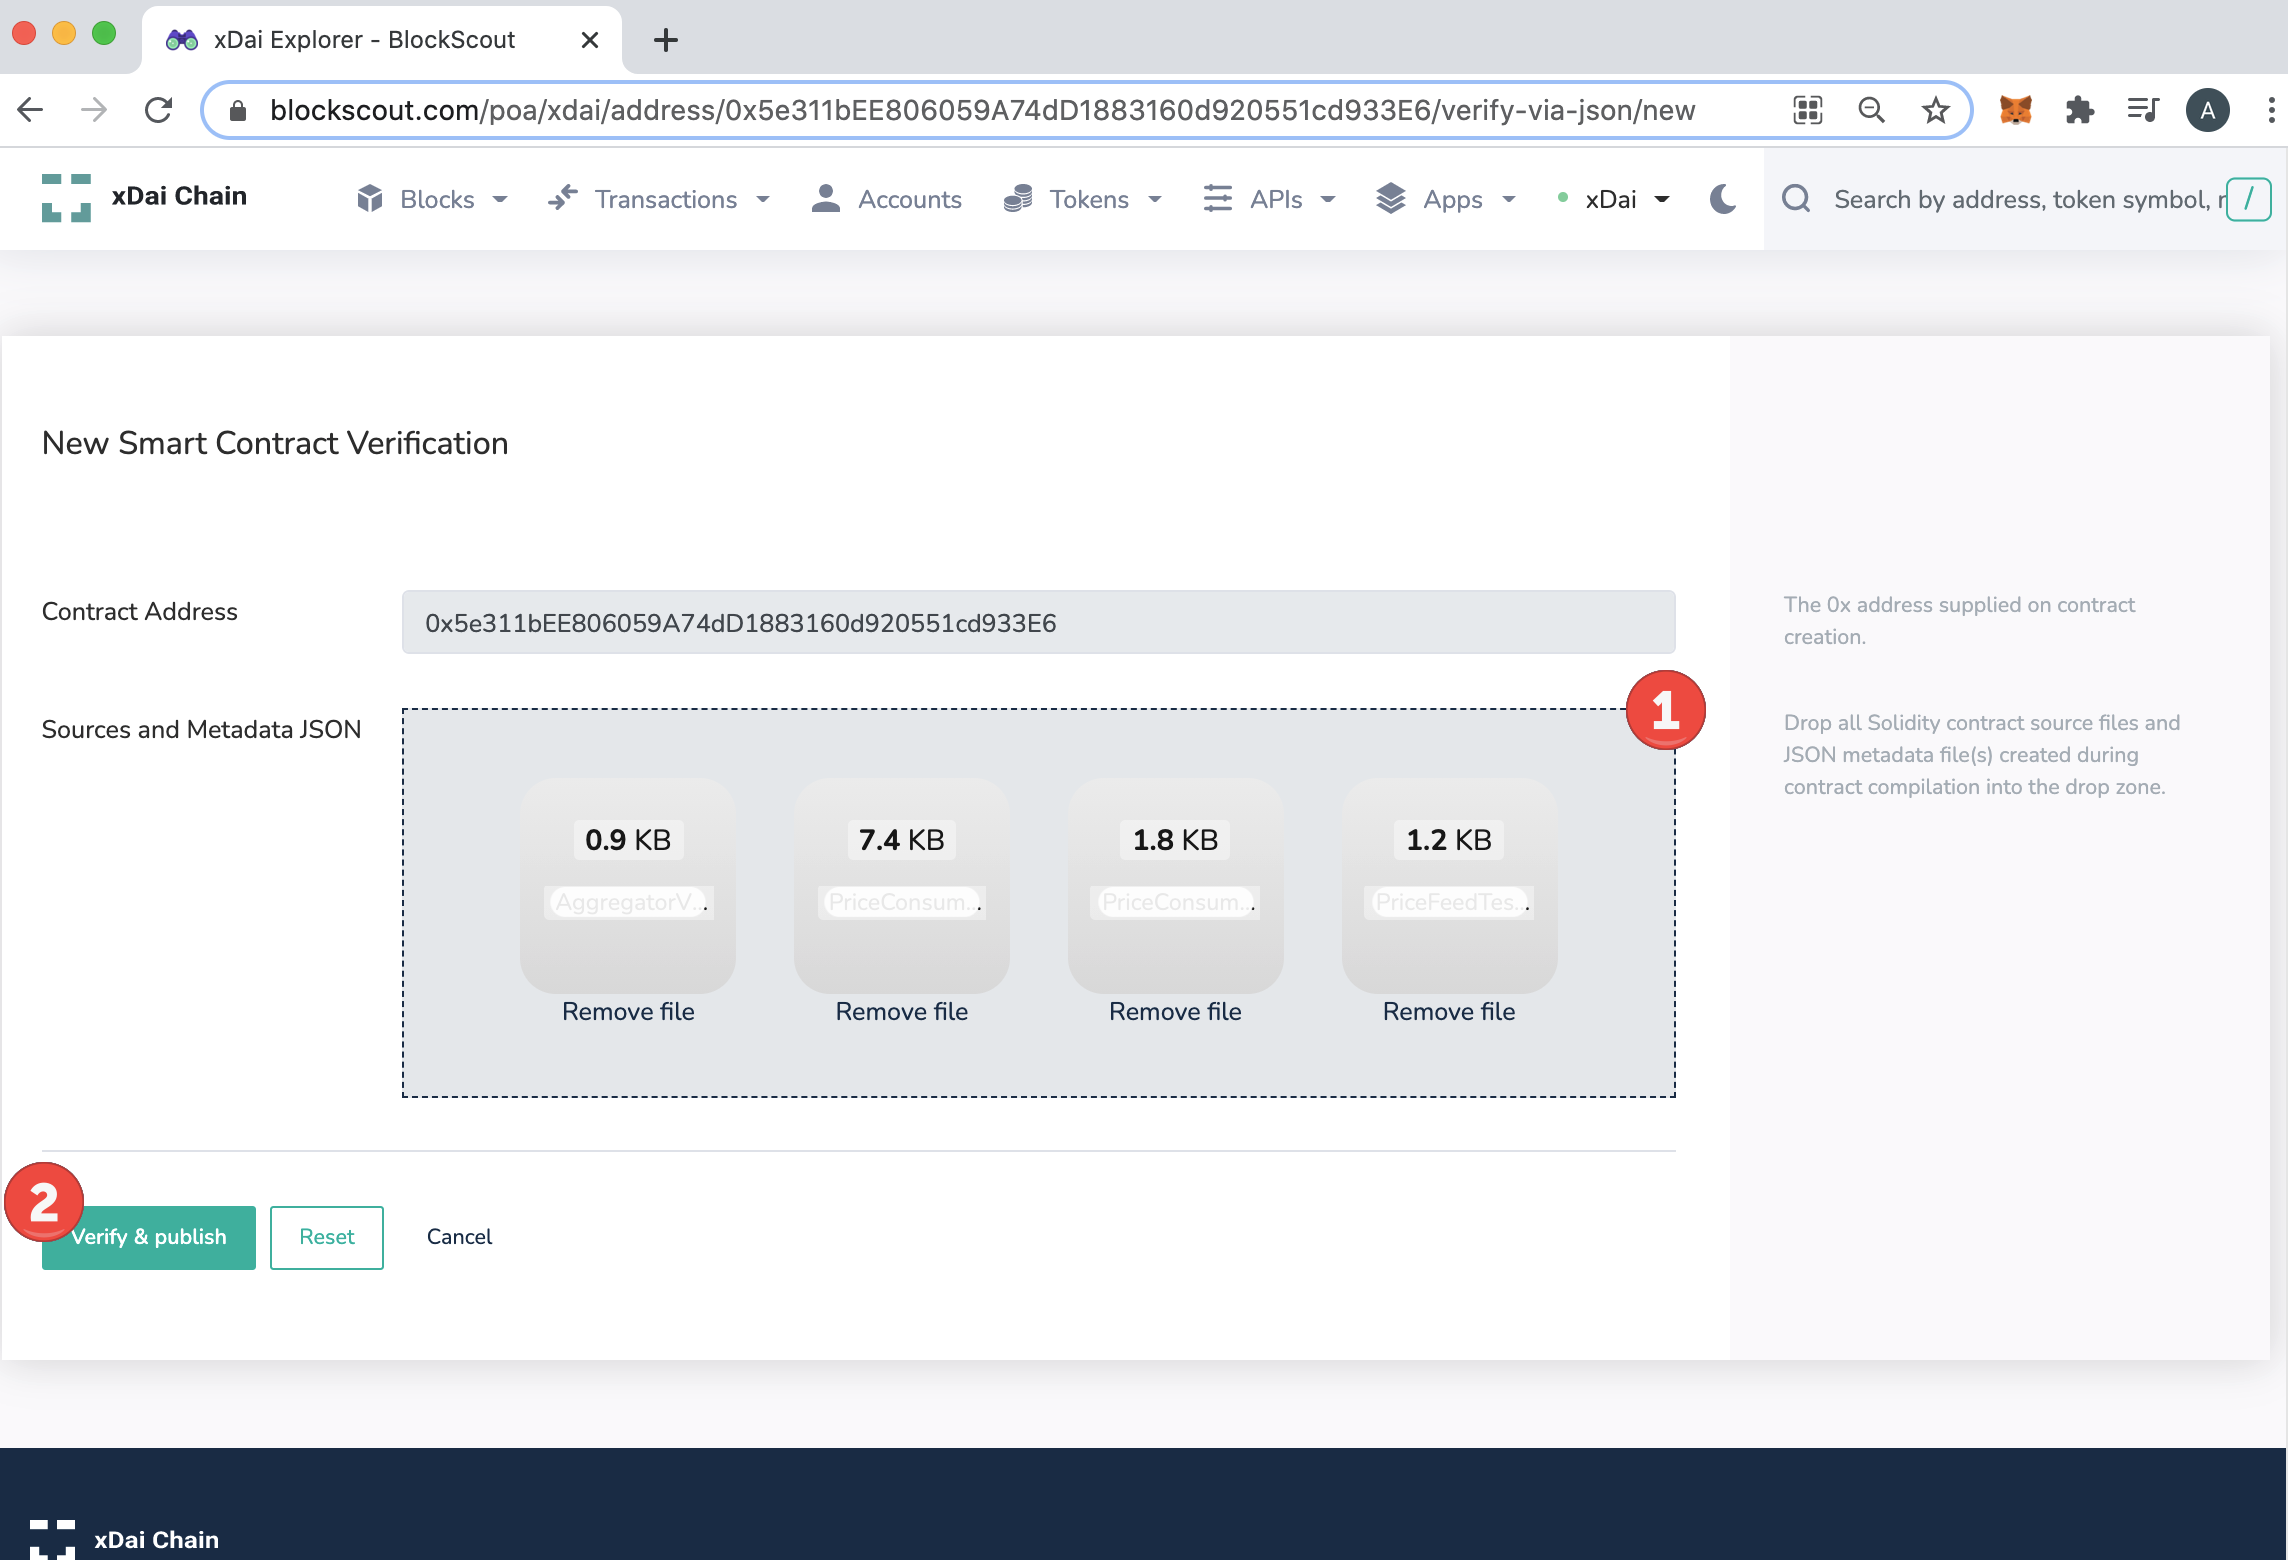
Select either a flattened file or Sources. In this example we select the Sources and metadata JSON files from Remix

Remix does not have an auto-export feature. You can use the remixd or copy the contents of each file and save in a text editor computer using the same names and file extensions. Include all imported files called by the contract, in this case the AggregatorV3Interface.sol file.

Drag and drop the files into the interface and click Verify & publish.
3) View your Contract in BlockScout
Once verified, you will see the checkmark next to the code, and you can read (and write) to your contract within the BlockScout environment.
